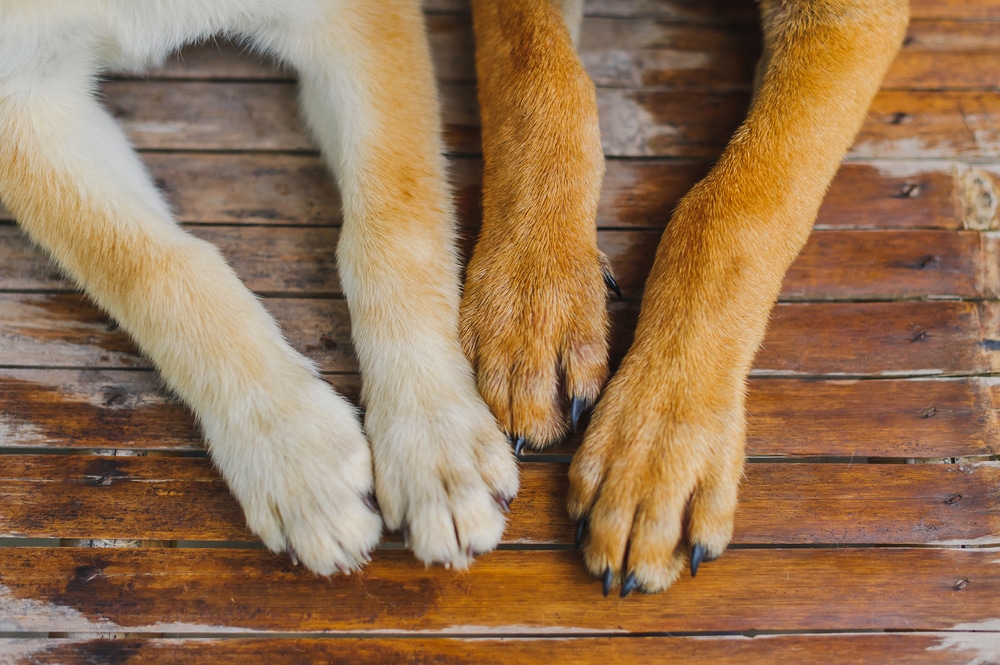
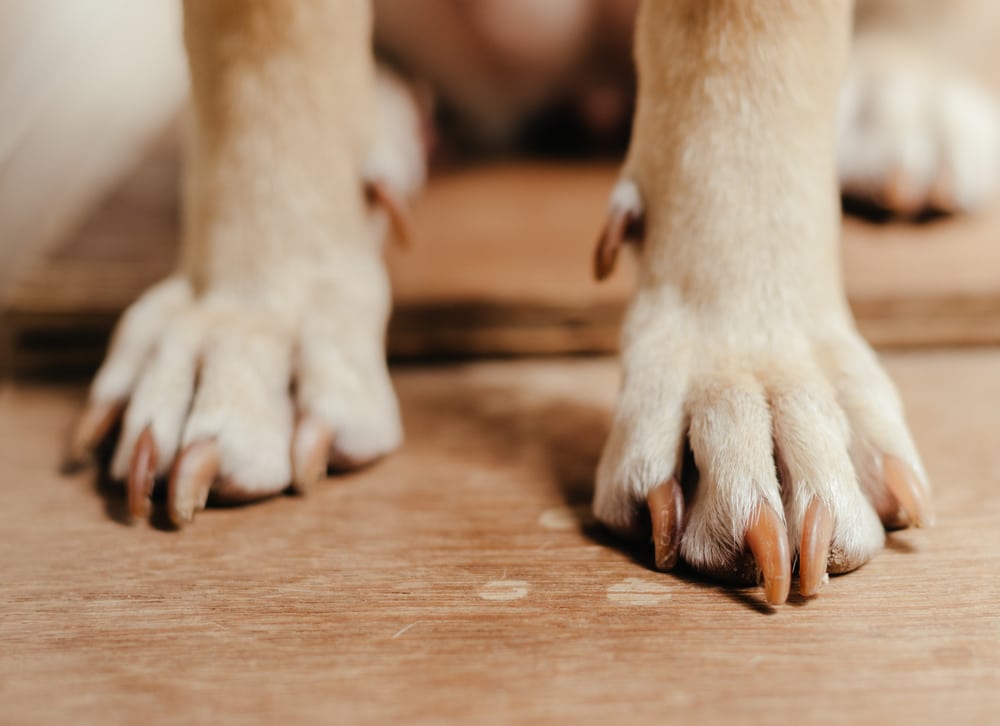
For dogs that hate having their paws touched, a trip to the vet or groomer for a nail trim can become an absolute nightmare. Thankfully, there are many safe alternatives to the more traditional nail clippers, such as nail boards. So, what are nail boards, and how do you get your dog to use them?
Nail boards are basically giant nail files for your dog. Instead of cutting off a big chunk of the nail like you would with a clipper, nail boards work by grinding down the nail as your dog scratches on the board.
Table of Contents
- Why Keep Your Dog’s Nails Short
- Why Dogs Are Afraid Of Nail Trims
- What Are Nail Boards?
- Why Nail Boards Are So Great
- Using Clicker Training To Teach Your Dog To Use A Nail Board
- How To Make A DIY Nail Board
- Is It Okay If Your Dog Only Scratches With Its Front Paws?
- Does This Mean You Never Have To Clip Your Dog’s Nails Again?
- In Conclusion: What Are Nail Boards?
Why Keep Your Dog’s Nails Short

A dog’s nails never stop growing. Dogs that live in the wild or outdoors are better at keeping their nails at a comfortable length because their nails are constantly worn out as they run on the rough ground outside. But most pet dogs in urban areas spend most of their time indoors with very limited playtime outside, making it more likely for their nails to get uncomfortably long.
Keeping your dog’s nails trimmed is important for their well-being. Overgrown nails are painful and can cause arthritis and postural issues. Long nails are also more prone to breaking. A broken nail is followed by profuse bleeding and has the potential to become infected.
Why Dogs Are Afraid Of Nail Trims
Nail trims terrify many dogs (but may not be if they get to do it while walking!). The paws are a very sensitive and important part of your dog’s body that are necessary for many daily activities. Because of this, dogs are often averse to people touching their paws. Some dogs that accept gentle handling of the paws may become nervous or aggressive when their feet are picked up because they feel off-balance. Training them when they are puppies can help reduce their anxiety.
Fear of nail trimming can develop in adulthood if your dog has a negative experience while someone is cutting its nails. Many clippers make a loud snap as they cut, and this sound is enough to startle a dog into developing a phobia. Another common reason is accidentally cutting the quick during a trim.
The quick is the triangle of pink flesh at the center of your dog’s nail that contains blood vessels and very sensitive nerves. Cutting through it causes sharp pain that your dog may associate with people trimming their nails. So, the next time they see the trimmers, the memory of the pain will trigger their anxiety.
What Are Nail Boards?
Nail boards (also known as scratch pads) are flat, wooden, or plastic boards covered on one side with an abrasive material such as sandpaper. With some training, your dog can learn to scratch the board in a digging motion that slowly files down its nails.
Why Nail Boards Are So Great
Nail boards are great because they allow your pet to shorten their nails on their own terms and time. Unlike traditional methods, nail boards do not require restraint and excessive manipulation of the paws. Plus, since the boards are slowly filing the nails down rather than cutting off a big chunk, they are less likely to damage the quick.
Teaching a dog to use a nail board utilizes their natural tendency to dig in return for rewards, such as treats. With consistent training, dogs can learn how to use a nail board relatively quickly and with minimal training.
Using Clicker Training To Teach Your Dog To Use A Nail Board
Clicker training is a great technique to use because it makes it easier to break down the behavior into small achievable steps that can then be rewarded. By clicking right when your dog performs the desired behavior, it helps them pinpoint exactly which action they are being rewarded for. Alternatively, you can use a short marker word, such as “yes.”
If your dog has never been trained with a clicker, the first step is to show them that a click means they’ve done a good job and a treat is on the way. In a quiet place free from distractions, click and give your dog a treat right away. Repeat this a few times until your dog looks at you expectantly following a click. Speed is key here! Make sure there’s no time for your dog to create other associations between when they hear the click and receive their reward.
Next, teach basic behaviors using the clicker, such as sit, down, and shake. This will help reinforce the purpose of the click before moving on to more complicated skills.
Steps For How To Use A Clicker For Nail Board Training
The towel technique is a popular way to teach your dog to use a nail board. During training, keep the sessions short – around 1 to 2 minutes per session even if that means you only get through a couple of steps a day. You can have more than one session in a day but allow your dog ample time to process the information so that the training settles into their long-term memory.
1 – Treat
Place a treat on the floor and allow your dog to see you partially cover it with a towel. Click and reward when your dog approaches the towel.
2 – Treat And Click
Click and reward if your dog moves the towel to get at the treat. Try and time the click to the exact moment your dog places his paw on the towel. Reward with more treats after each click.
If your dog does not use its paw, try and move the treat further under the towel. Once your dog gets it, repeat this step 4-5 times.
3 – Time For The Board
Place the treat with the towel on it on your nail board. Click and reward once your dog has moved the towel. The coarse scratch pad may be a novel sensation for your dog and it may avoid it at first.
Be patient though! Go back to step 1 and progress slower if needed. If you can only get your dog to approach and place a paw on the board at first, reward that too!
4 – Board With A Towel But No Treat
Place the towel on the board without any treats under it. Click and treat immediately when your dog places a paw or scratches on the board.
5 – Board With No Treat
Once your dog has learned that scratching earns them a treat, you can start the training session without the towel. Place the board on the ground and see if your dog scratches at it. If they seem confused, start with the towel on the board and gradually move it off until your dog learns that it’s just “scratching on the board” and not “scratching on the towel on the board” that earns it treats.
6 – Using Both Paws
Teach your dog to use the other paw too. Many dogs have a dominant paw but will often perform small complementary motions with the opposite foot. Once they have mastered scratching with one leg, start to reward even the tiniest movement with the other foot. This may be just placing that foot on the board or gently flexing the toes.
7 – Keep It Up!
Continue to practice and make sure your dog is always excited every time you bring out the board and sees it as an easy way to get treats. Be consistent with training and keep sessions short and fun.
How To Make A DIY Nail Board
If you don’t want to buy a nail board, making one can be a fun and inexpensive do-it-yourself activity. This way you can make one to fit your dog’s size, and you may replace the abrasive sandpaper surface more regularly as it dulls.
You will need a plywood board, medium- or coarse-grit sandpaper, rubber anti-slip tape, duct tape, and glue.
- Glue the sandpaper to one side of the board. Use medium-grit sandpaper for puppies and small-breed dogs. Senior or larger breeds tend to have harder nails and require coarse grit sandpaper to effectively file down their nails.
- Create a border by lining the sides of the board with duct tape to protect your fingers and flooring.
- Place one-inch squares of rubber anti-slip tape on the four corners of the reverse side of the board to make sure it stays in one place as your dog scratches.
Is It Okay If Your Dog Only Scratches With Its Front Paws?
The nails on the front legs tend to grow much faster than those of the hindlimbs. Dogs tend to propel forward using their back legs more than their front. This means that the back toenails tend to experience significantly more pressure and are worn down faster than those in front.
That said, you can teach your dog to scratch with its back legs as well. Once your dog has mastered using both front paws, begin to introduce hind leg exercises as well.
Does This Mean You Never Have To Clip Your Dog’s Nails Again?
Unfortunately, no. Nail boards can reduce the frequency of needing nail trims, but they cannot be eliminated. Scratching on a board will not shorten the nails of the dewclaws, located higher up on the foot than the rest of the toes. Dew Claws are prone to ingrowth injuries and cannot be neglected.
Using a flat nail board may cause the nails on the middle toes to be slightly shorter than the outer nails. Unless you teach your dog to use a curved nail board, these will need to be evened out with an occasional trim.
With this in mind, keep training your dog to accept having its paws touched. Clicker training is a great tool to help your dog create positive associations with nail trims so they become less fearful over time.
In Conclusion: What Are Nail Boards?
Nail boards are nail files your dog can use to do their own nails. Even though they require some prep work, they are less traumatizing than traditional methods. If your dog has a fear of getting its nails trimmed, a nail board may be an excellent alternative for you and your pet.
So, are you ready to take the leap on nail boards? How do you plan to help your dog use them? Let us know in the comments below!
